Studio Mockup: place your logo on a product
“Studio Mockup” lets you place your logo on a product yourself and export the result. It is included in every plan, free account included. Place your logo on a product, adjust the position, export the print file.
Before you start
- At least one logo, ideally on a transparent background.
Steps
Step 1
Choose a product
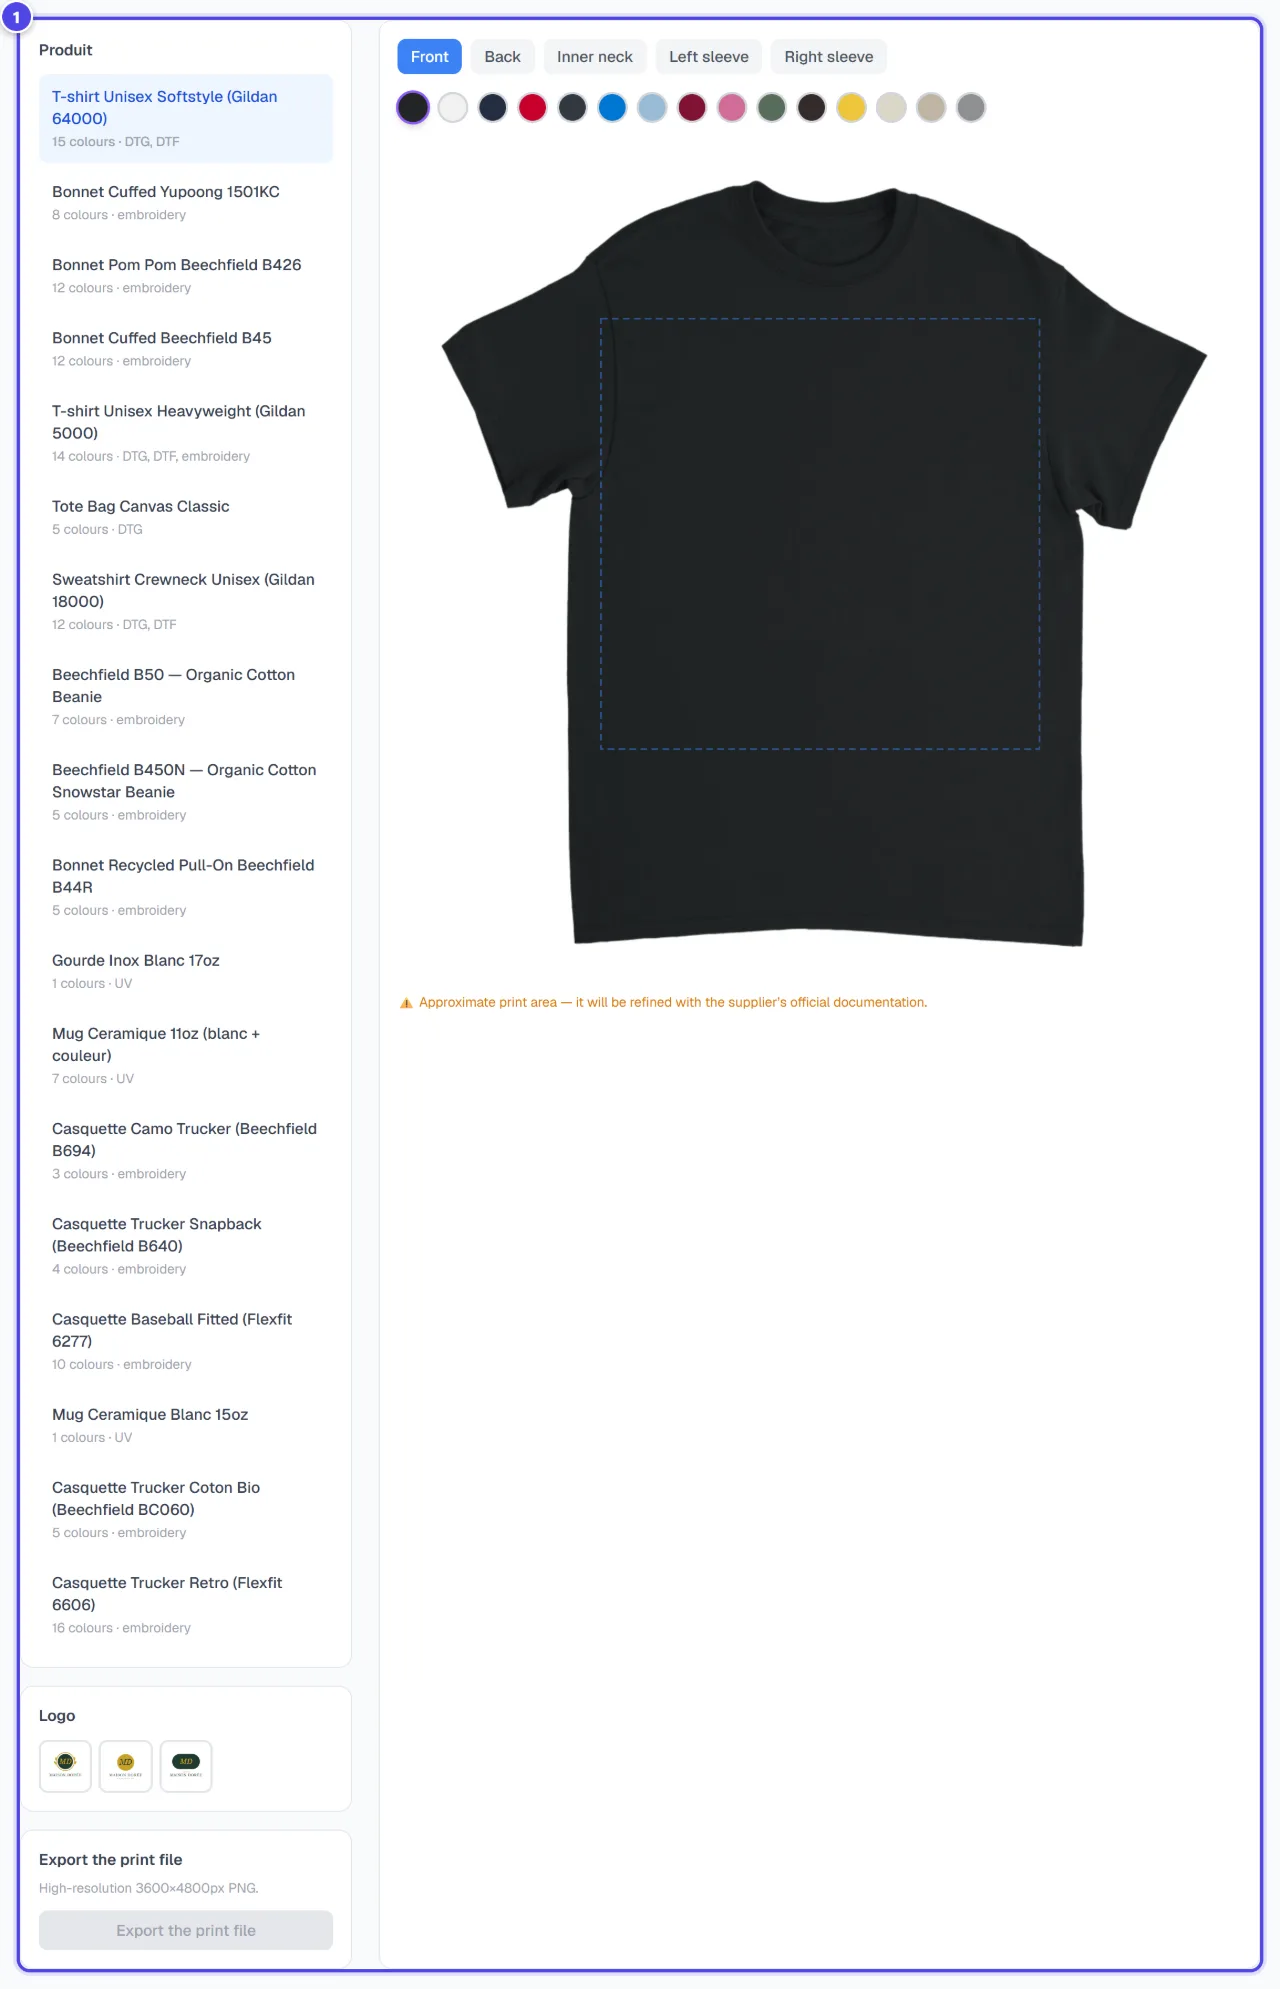
Select a product to get started. Then choose the product colour.

On mobile
- 1Available products
Step 2
Place your logo
Position your logo, then click “Confirm” to go back to the product. Adjust the “Scale:” if needed. If an “Opaque background detected” warning appears, “Remove the background” cuts out the logo.
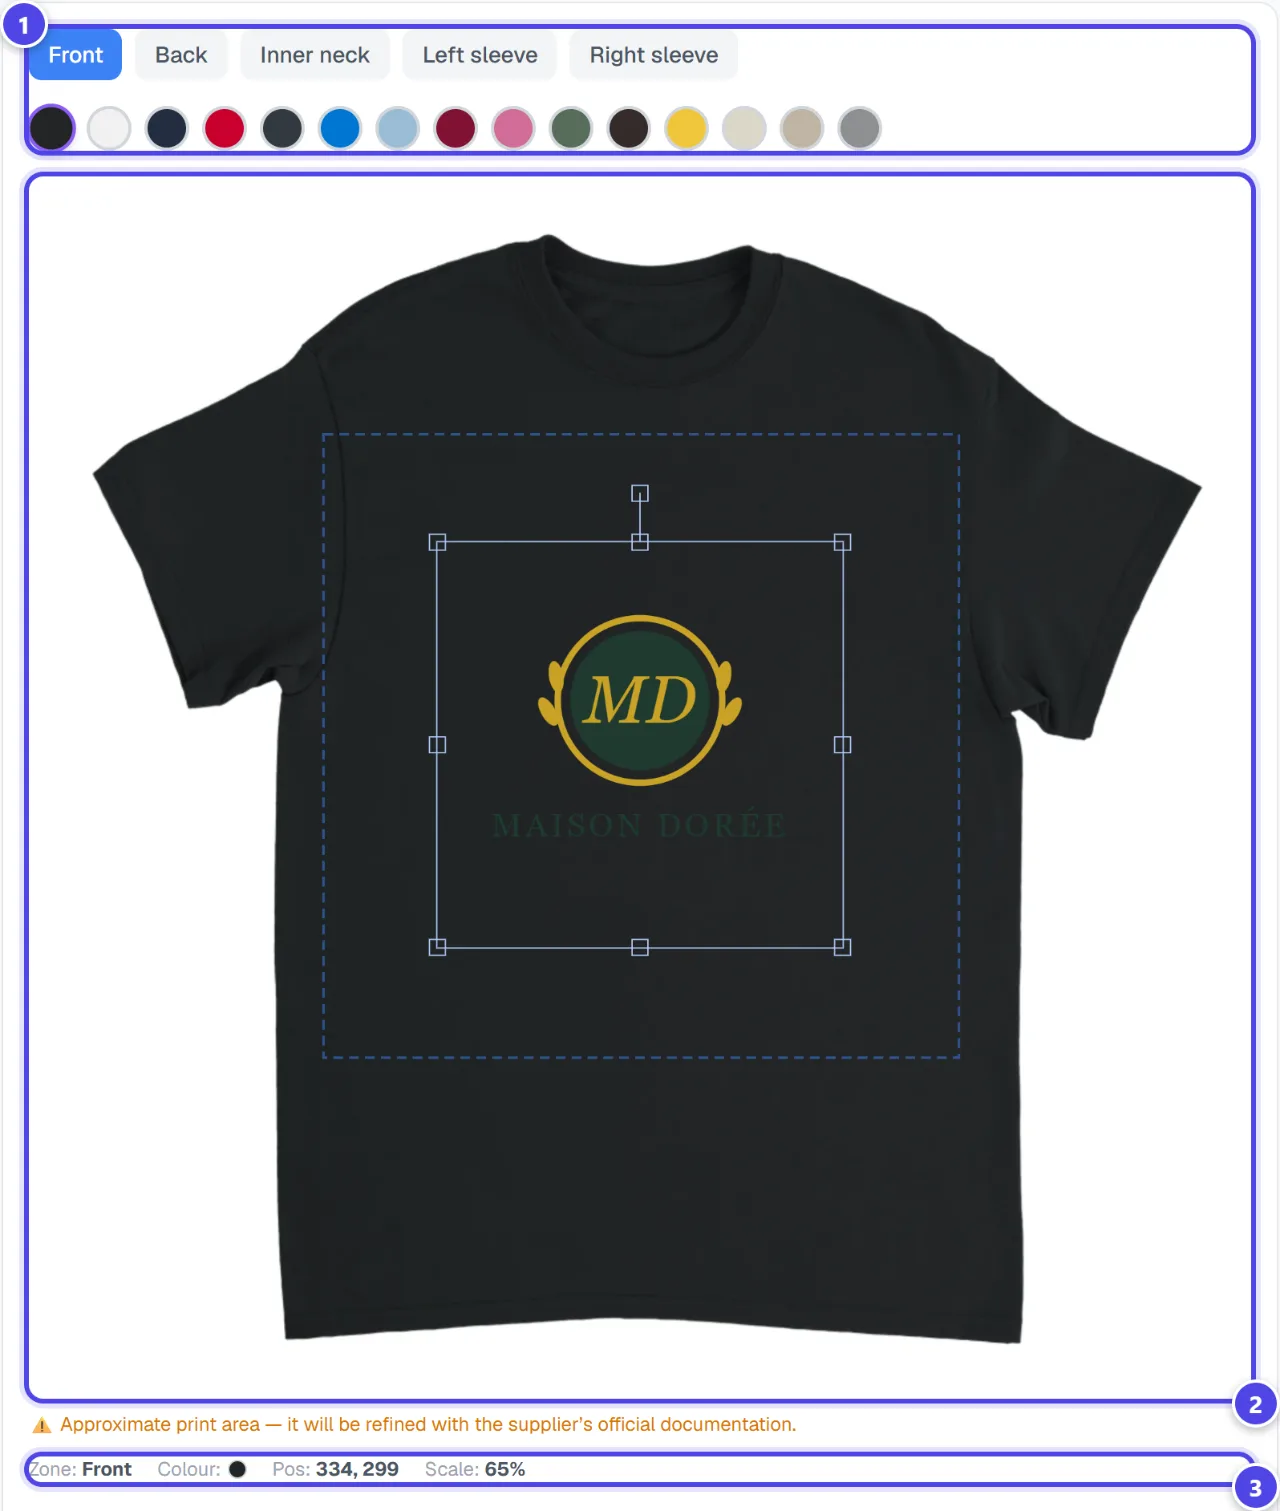
- 1Side and colour
- 2Canvas
- 3Scale
Step 3
Export
“Download PNG” saves the preview. “Export the print file” prepares a print file: High-resolution 3600×4800px PNG.
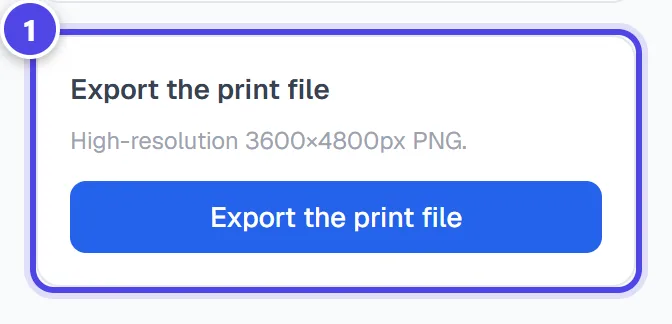
- 1Print file
Screenshots taken with a demo account and brand (“Maison Dorée”). The logos shown are examples, not customer creations.
What you get
- A PNG image of the product with your logo.
- A high-resolution PNG print file.
Tips and common issues
- “Opaque background detected”
- Solution: This logo has a white or opaque background. Remove it for a better result on the product.
- “No logos yet. Generate one first.”
- Solution: Create a logo for the active brand first.
Frequently asked questions
Is Studio Mockup paid?
Placing and exporting do not debit tokens; only an optional cut-out is charged as background removal.
Can I order the product afterwards?
Yes, from “Merchandise”.
How is it different from Mockups?
Mockups produce several automatic scenes; the Studio lets you place the logo by hand.